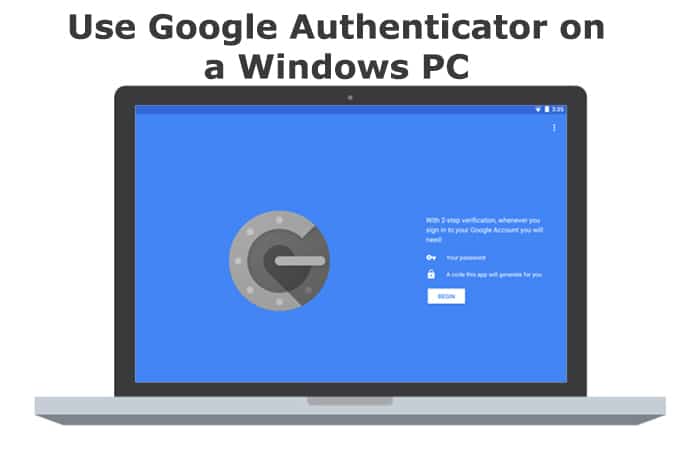
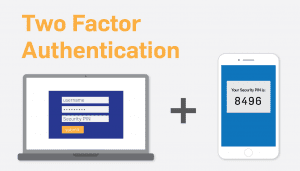
Security has been the talk of the virtual world since the last few years, especially on a smartphone. Our smartphones store everything of us; thus, needs proper security. Google Authenticator takes this security verification one level higher by providing a two-way verification. Setting and using Google Authenticator on our phone is as simple as scanning a QR code. This step by step guide will take you through the set-up and use of Google Authenticator at ease.
Prerequisites
You need to attain and fulfill some pre-requirements to set-up Google Authenticator on your phone before using it. These prerequisites are-
- You need to set-up 2-step verification for your Google account on your phone. If you haven’t set-up your 2-step verification, please set it up on your phone via a Setting option.
- Then you need to install the Google Authenticator app on your cell phone. It needs some steps-
- Go to your Android App
- Write Google Authenticator on the search box
- Click on the result.
- Click on the download and install button when the app page comes.
- Google will then automatically download and install the app on your device.
- Then you need to install a barcode scanner app. If you don’t have any barcode scanner installed on your phone, Google Authenticator will ask you to install one.
Setting Up the App:
After you have met all the prerequisites, it’s time to move on to the next segment. Let’s begin our set-up process-
- Go to your favorite browser. Open the Google account security page using the browser.
- You will find a page where different settings option will be given. Find 2-Step Verification from Google Sign in option. You will see 2-Step Verification right after your password segment.
- Then click on the ‘Setup’ button under the Authenticator App section.
- You will be asked to choose your device operating type whether it is Android or iPhone. Select your device option and then click “Next” to get a QR code.
- Then go to your device. Open Authenticator app in your device.
- Tap on the ‘Begin Setup’ option to start the process.
- Then you will be asked to scan your bar code. Simply Scan your bar code using a bar code scanner that you have installed earlier.
- Scan the QR code opened previously in your browser using your bar code scanner.
- After you have found the QR code, click on the ‘Next’ button.
- Type the code into the text box that you see in your mobile device.
- Click “Verify” button
- To complete your set-up procedures click on the ‘Done’ button.
That’s all. You are ready with your 2-Step Verification in your account to provide a smarter and better security.
Things to be noted:
- You are allowed to set-up one device at a time using an authenticator.
- You are strongly recommended to not set-up this on a device that is used by the public in general.
- Additionally, add a password to your device for better security.
Please do share your experience with us about how are using and being benefited by Google authenticator so that we might shortly come back with more tips to assist you. Till then, take care.


